Picture Perfect: The Top Cameras for Makeup Artists
Are you a makeup artist looking for the best camera to capture your work? Choosing the right camera can make all the difference in showcasing your talent and attracting clients. In this guide, we’ll review the top cameras for makeup artists to help you make an informed decision
As a makeup artist, it’s important to have high-quality photos of your work to showcase your skills to potential clients. That’s why choosing the right camera is crucial.
Most Makeup artists use :
Sony a6400
The Sony Alpha a6000 is a versatile camera with fast autofocus and excellent image quality. It’s lightweight and easy to use, making it a great choice for makeup artists who need to shoot quickly and on-the-go. Its 24-megapixel sensor produces sharp, detailed images that capture the intricacies of your makeup work.
I personally use 2 cameras :
The canon G7X Mark III
I also use the Canon 80D.
But remember you can use the back camera of your phone to have a great result.
JOIN THE 1K OTHER MAKEUP ARTISTS AT ANAIVIACADEMY
Tips to taking great pictures
First and foremost, lighting is crucial when it comes to taking great makeup photos. We recommend using natural light whenever possible, as it provides a soft and flattering glow that will enhance your subject’s complexion. If you are shooting indoors, position your subject near a window and avoid harsh overhead lighting, which can cast unflattering shadows.
Composition
We recommend experimenting with different angles and perspectives to create interest and depth in your photos. For example, try taking shots from above or below your subject to showcase different aspects of their makeup.
Facial expression
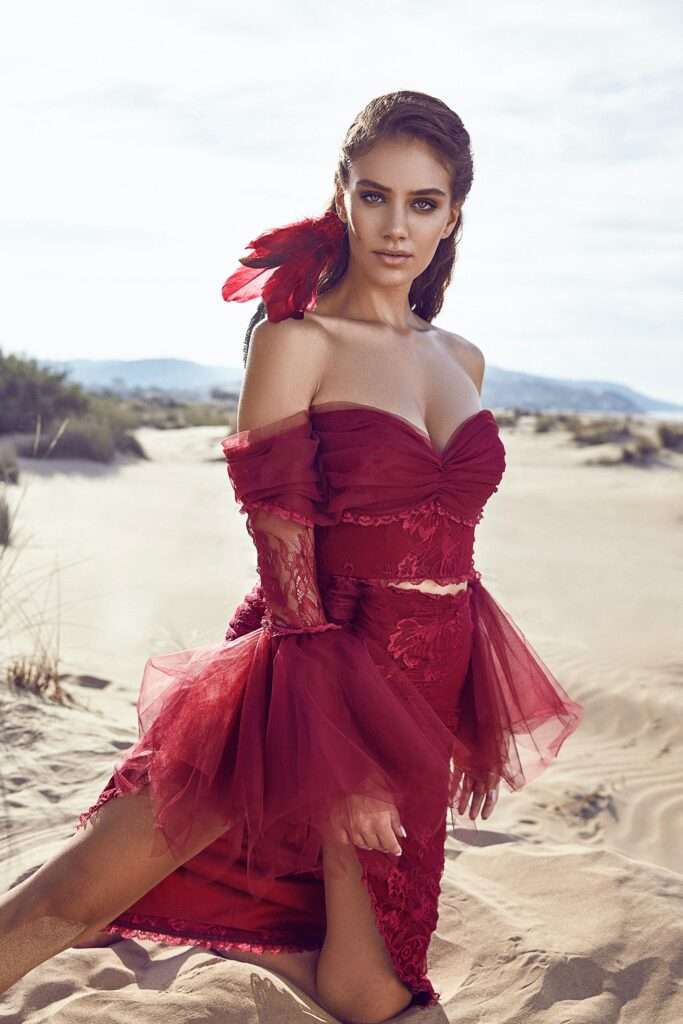
It’s essential to pay attention to your subject’s facial expressions and poses. Encourage them to relax and have fun during the shoot, as this will help them feel more comfortable and confident in front of the camera. Consider providing some direction, such as asking them to look directly at the camera or tilt their head slightly to one side.
Finally, editing your photos can help enhance their overall quality and make your makeup artistry stand out. There are several free and paid editing software options available, such as Adobe Lightroom or Canva, that can help you adjust the lighting, color, and contrast of your photos. However, it’s important not to go overboard with editing, as this can make your photos look unrealistic or fake.
Natural Lighting
Using natural lighting can be a great way to create beautiful, flattering photos. Here are some tips for using natural lighting effectively:
- Find a good location: Look for a spot with ample natural light, such as near a window or outdoors in a shaded area. Avoid direct sunlight, as it can create harsh shadows and make your subject squint.
- Pay attention to the time of day: The time of day can greatly impact the quality of natural light. The best times for shooting are typically early morning or late afternoon when the light is softer and more diffused.
- Position your subject: Position your subject so that they are facing the light source, which will create a flattering, even light across their face. If you’re shooting near a window, have your subject stand or sit facing the window.
- Use a reflector: A reflector can help bounce light back onto your subject’s face, creating a more even, flattering light. You can purchase a reflector or use a white foam board or sheet to achieve a similar effect.
- Experiment with angles: Try shooting from different angles to see how the light affects your subject’s face. For example, shooting from slightly above your subject can create a flattering, slimming effect.
- Watch for changes in light: As the sun moves across the sky, the quality and intensity of natural light can change quickly. Be mindful of these changes and adjust your settings accordingly to avoid over or underexposed photos.
By using natural lighting effectively, you can create stunning, natural-looking photos that highlight your subject’s features and enhance the overall quality of your work.
